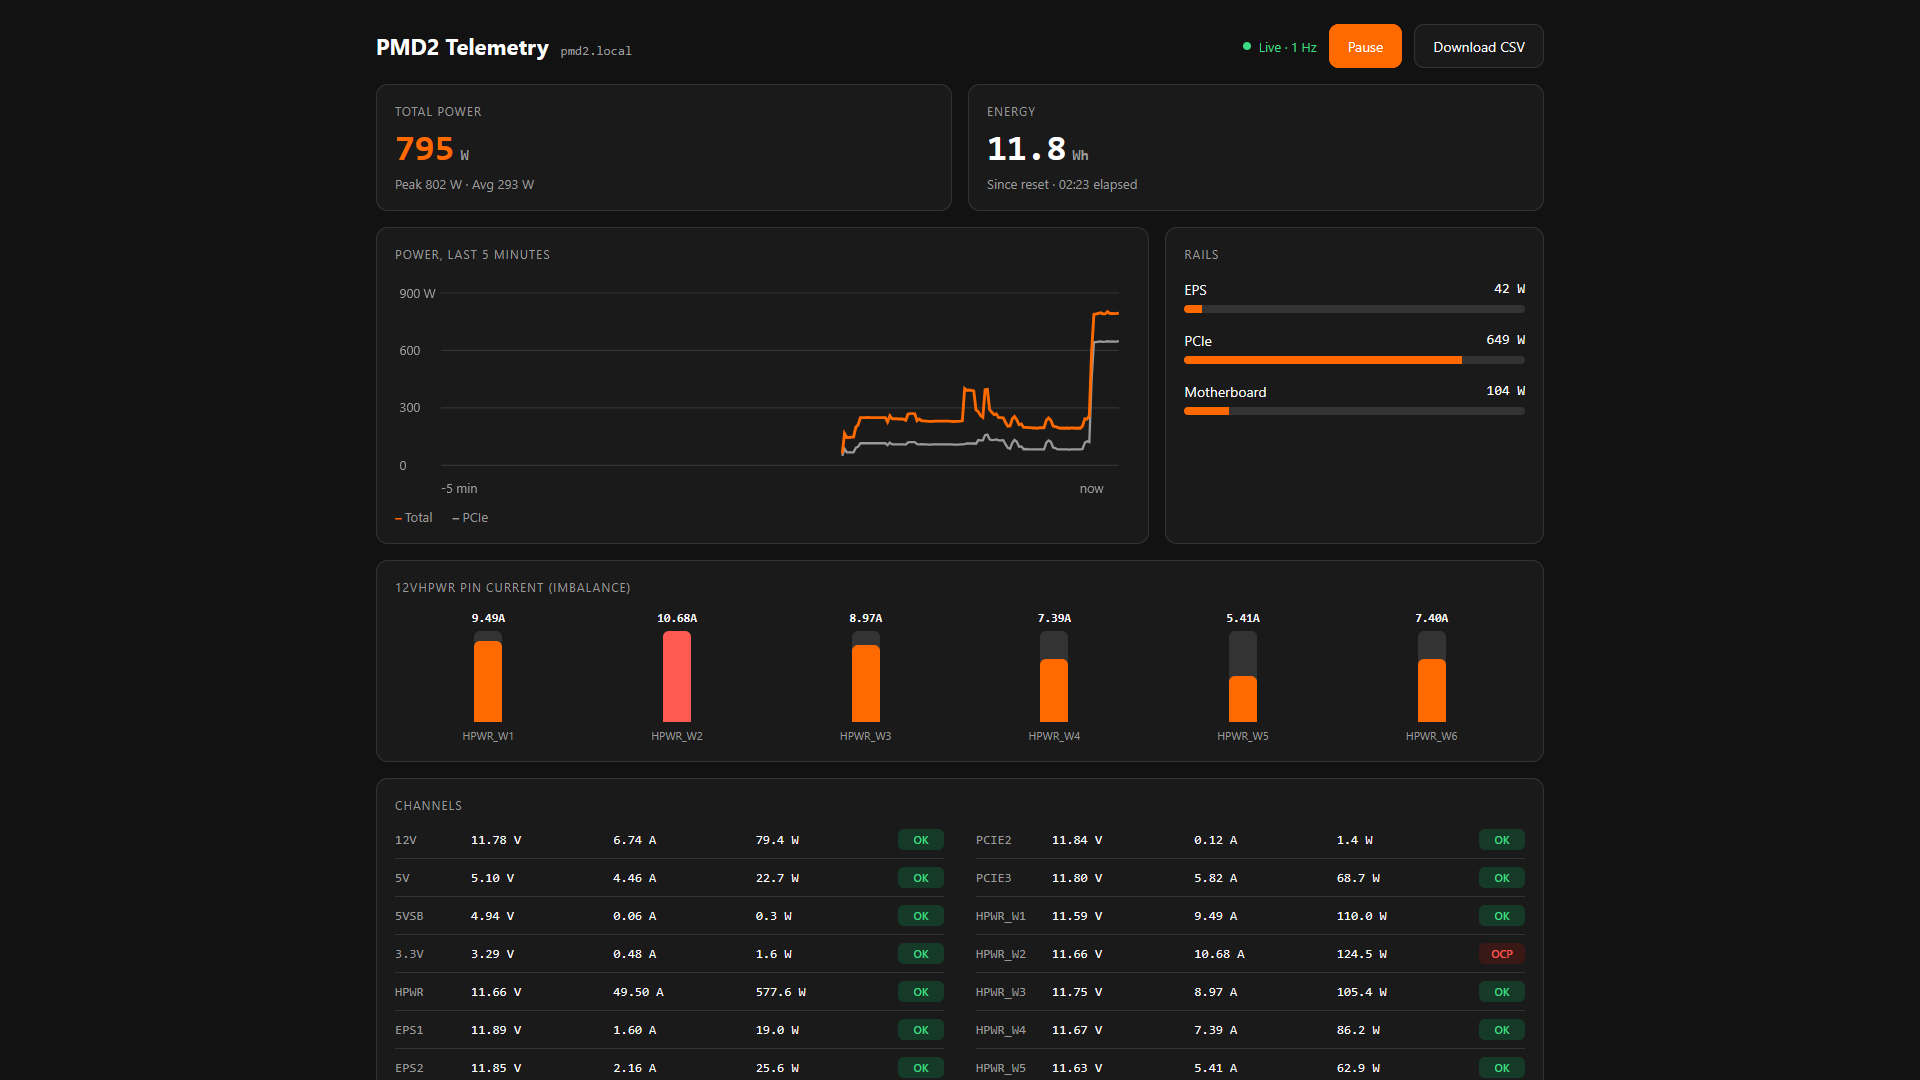
The XIAO Dashboard adds a wireless, browser-based dashboard to the PMD2X, letting you view live telemetry from any device on your network.
Introduction
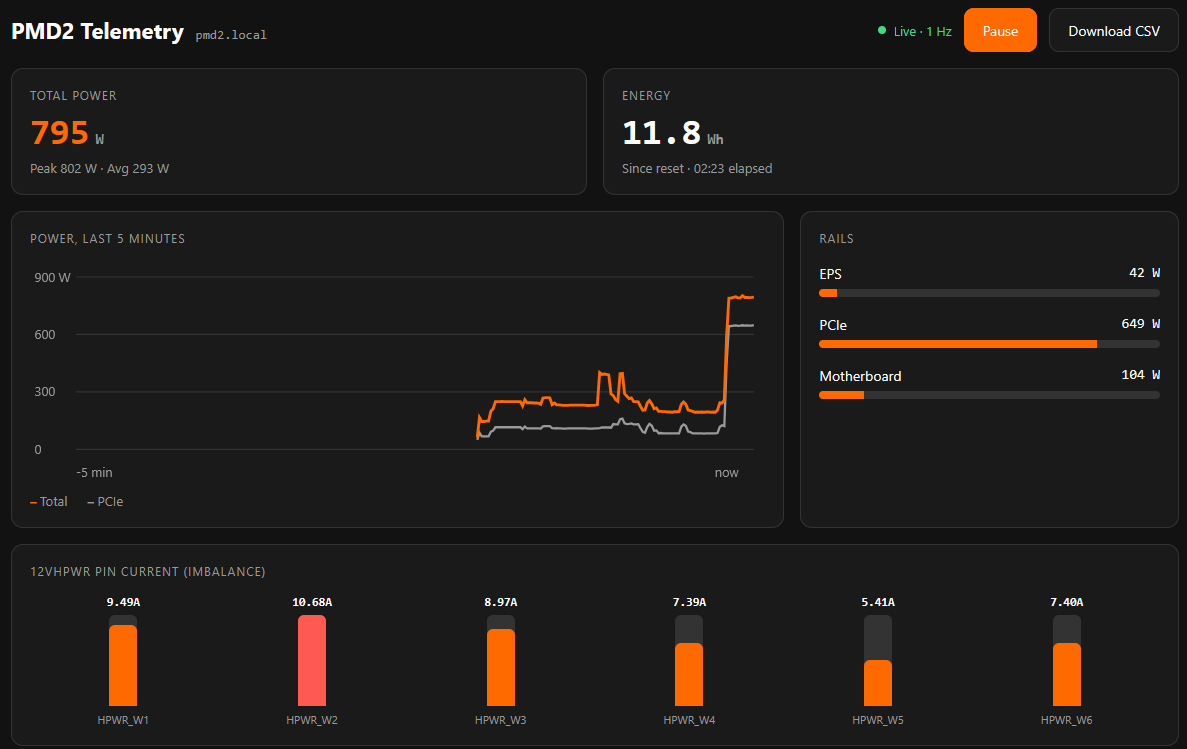
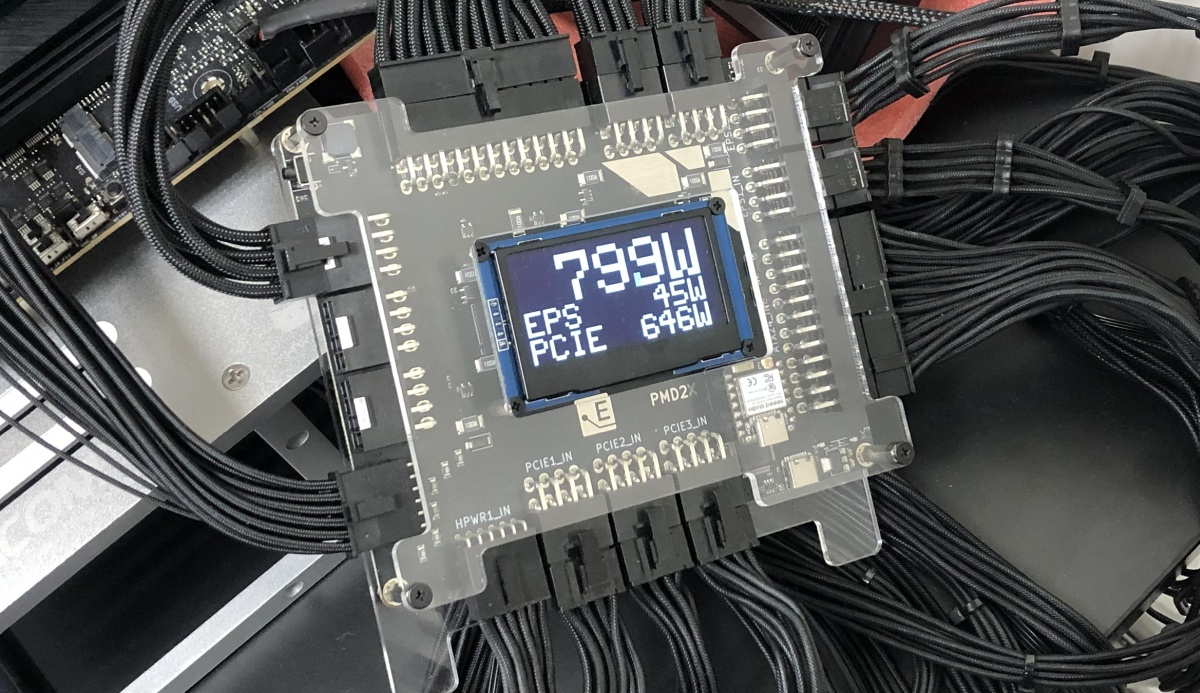
The ElmorLabs PMD2X already gives you real-time voltage, current, and power readings across your CPU (EPS), GPU (PCIe and 12VHPWR), and motherboard (ATX24) rails, right down to individual 12VHPWR wires, with everything visible on its onboard OLED or over USB. Now there’s a way to get those same readings on your phone, tablet, or any browser on your network, without running a cable to your bench or your case: the XIAO Dashboard.

What it is
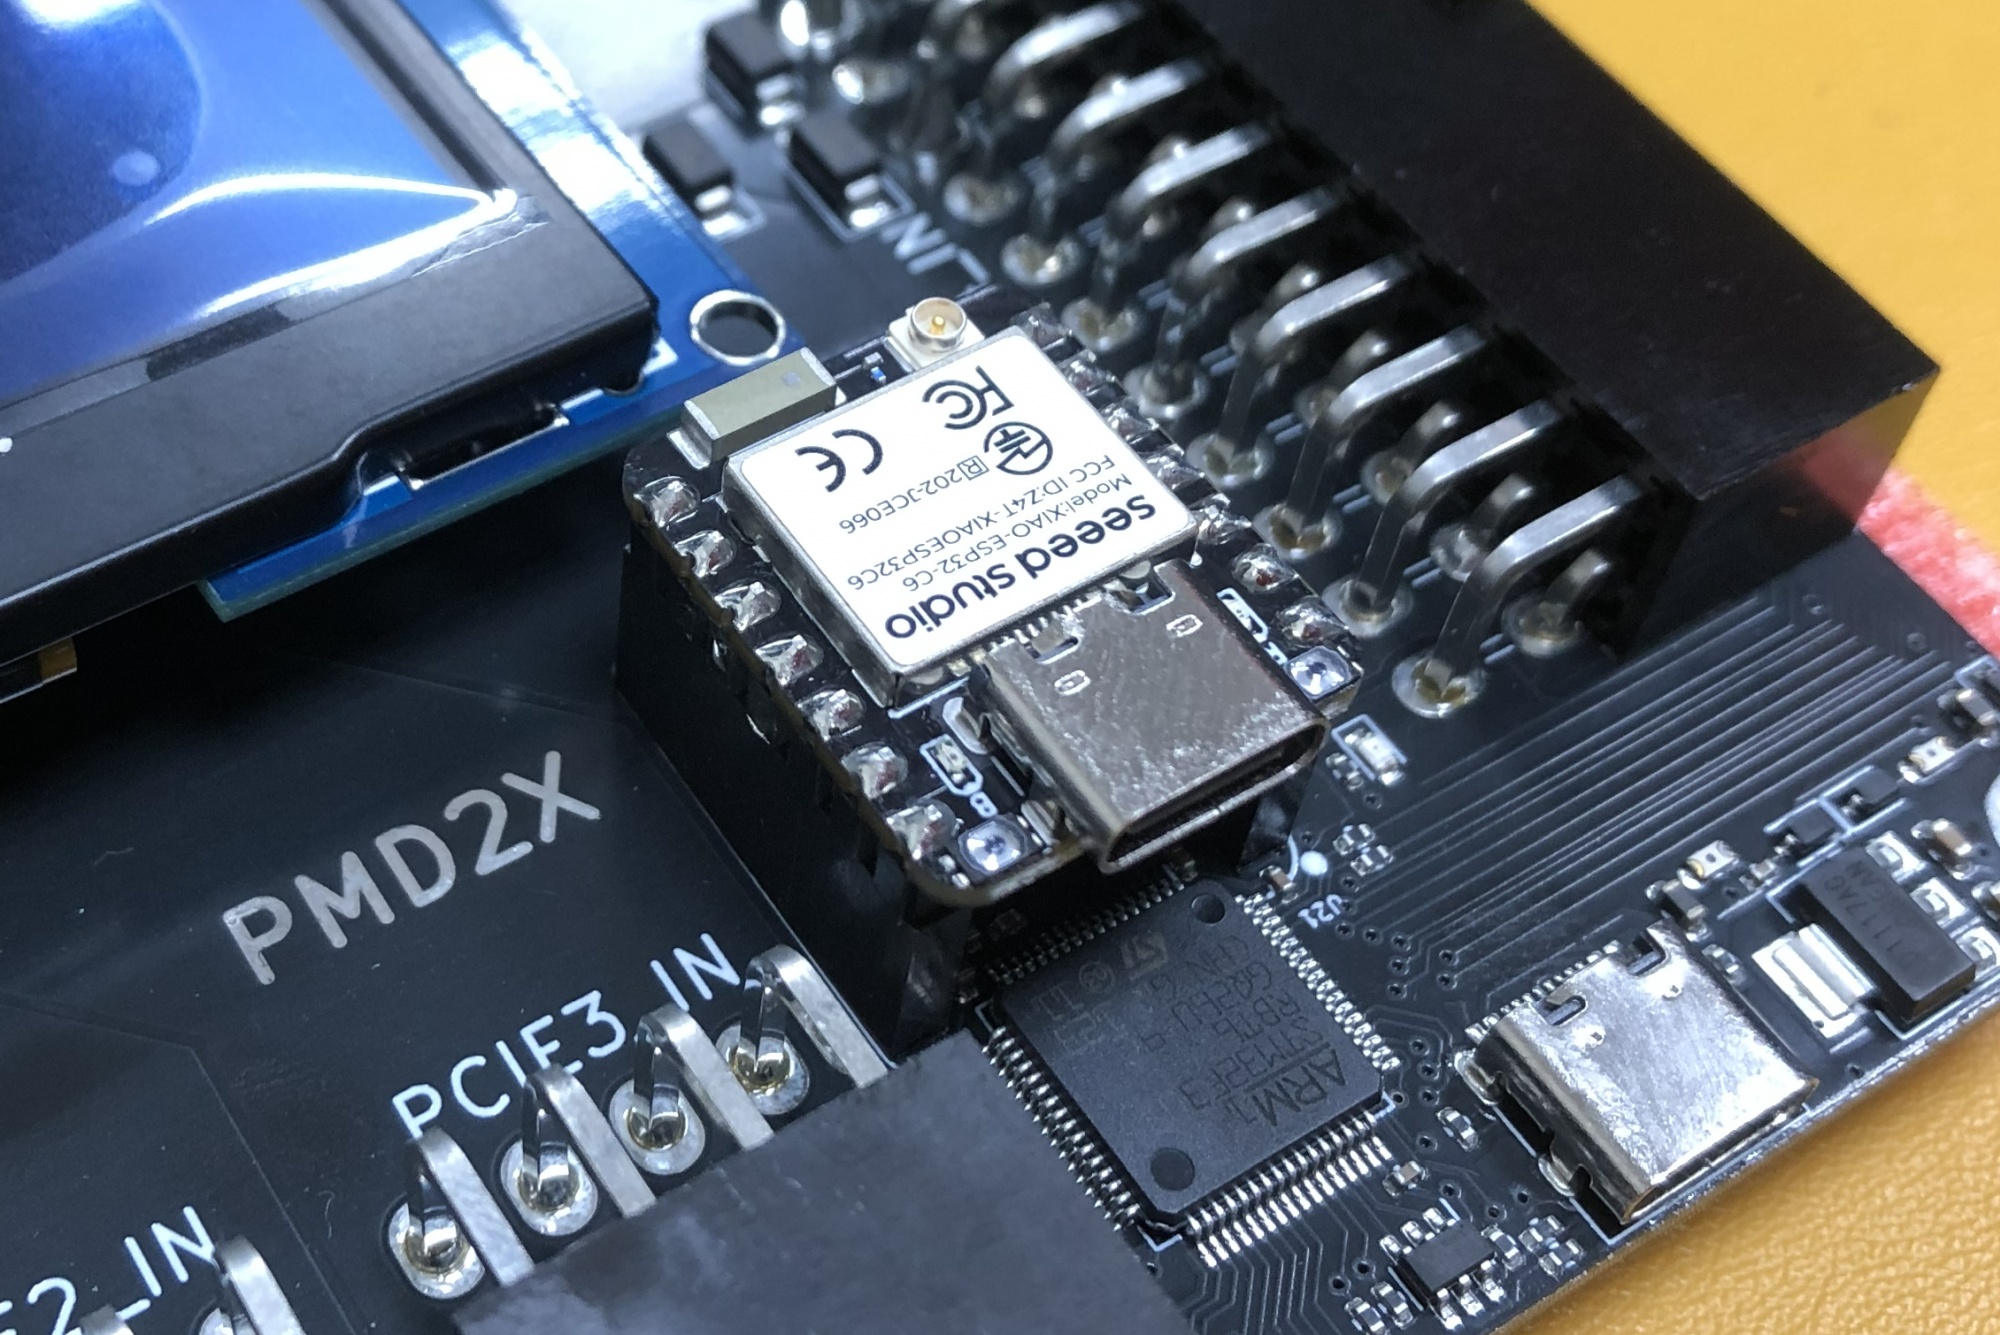
The XIAO Dashboard is a small add-on board based on the Seeed Studio XIAO ESP32C6 that plugs into your PMD2X over SPI. Once it’s flashed and connected to your WiFi, it turns the PMD2X into a wireless telemetry station:
- Live telemetry page: power and temperature charts that update in real time, right in your browser.
- CSV export: grab a log of your session for later analysis.
- Device info at a glance: firmware version, UID, and sensor summary.
- JSON API: for anyone who wants to pull PMD2X data into their own tools, scripts, or dashboards.
- mDNS hostname: reach it at
http://pmd2.localinstead of hunting for an IP address. - No typed-in credentials required: set up WiFi over Bluetooth from your phone, or use the built-in fallback access point if nothing’s configured yet.
It runs alongside the PMD2X’s existing USB and OLED interfaces.
Flashing the firmware
You don’t need the Arduino IDE or any build tools. Flashing happens directly from your browser using ESP Web Tools. Requirements: Chrome or Edge, on desktop or Android. (Web Serial isn’t supported in Safari or Firefox.).
Connect the XIAO board to your computer over USB.
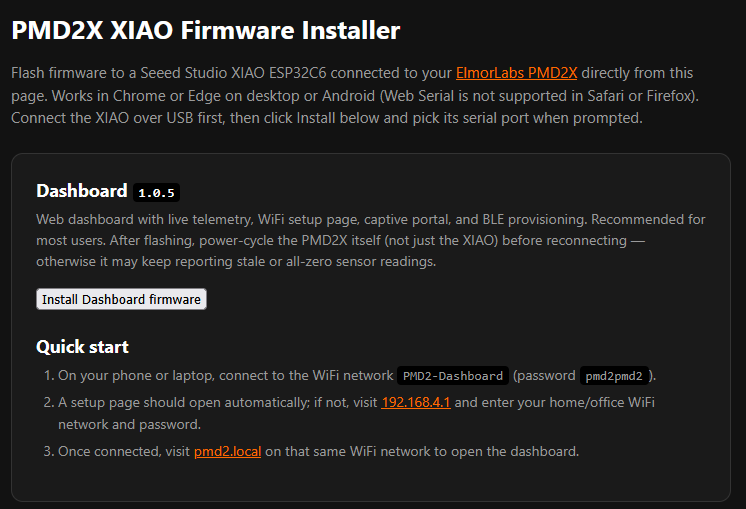
Open the PMD2X XIAO Firmware Installer page and under Dashboard, click Install Dashboard firmware.
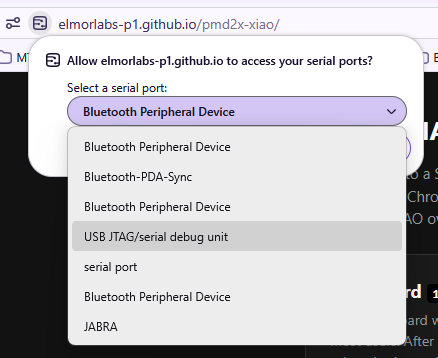
When prompted, select the XIAO’s serial port and let the installer do its thing.
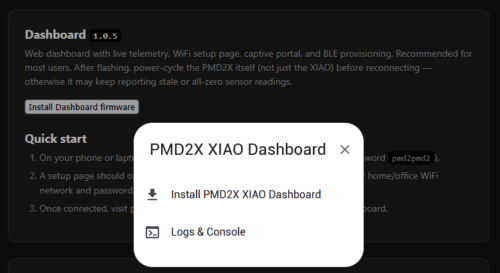
That’s it! No soldering, no toolchain, no manual firmware files.
Connecting it to your WiFi
The Dashboard firmware is designed so you never have to hard-code a WiFi password into anything.
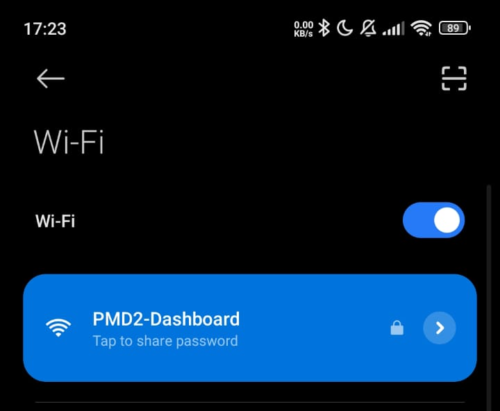
The first time it boots (or any time it can’t reach a previously saved network), it starts its own access point named PMD2-Dashboard (password pmd2pmd2) and serves a WiFi setup page.
To connect it to your network:
- On your phone or laptop, join the
PMD2-DashboardWiFi network. - Most devices will automatically pop up a “Sign in to network” prompt that opens the setup page for you. If it doesn’t, open a browser and go to
http://192.168.4.1/setup. - Enter your home/office WiFi network name (SSID) and password, then submit the form.
- The device saves your credentials to flash, drops its access point, and joins your network.
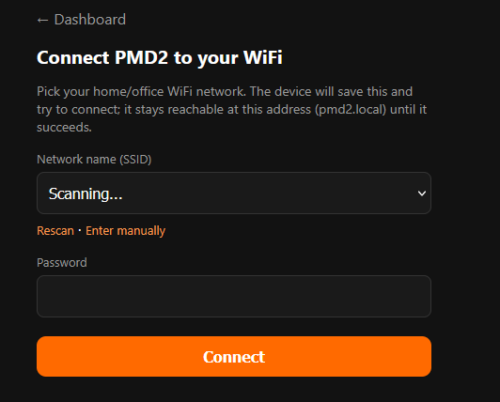
Your credentials are saved permanently, so this is a one-time setup — they survive reboots and even re-flashing the firmware. If the device ever can’t reach that network again (new router, changed password, etc.), it falls back to the PMD2-Dashboard access point automatically so you can reconnect.
Viewing your data
Once connected, open a browser to: http://pmd2.local and you’ll see live power and temperature readings updating in real time, with CSV export available whenever you want to save a session.